How to insert ads at specific position
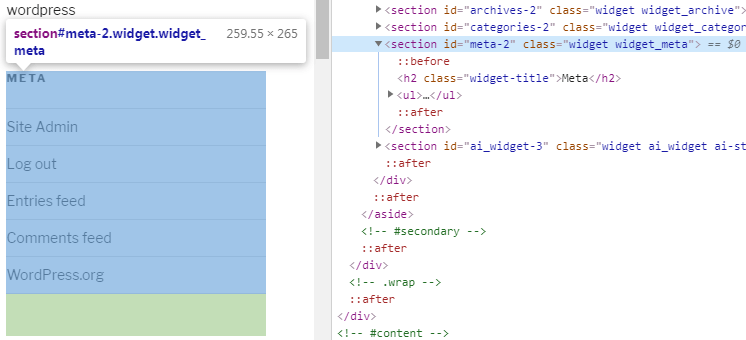
Ad Inserter supports automatic insertion at common positions on WordPress pages. However, in some case you may need to insert ads at positions that are not available this way. For suchh cases Ad Inserter supports insertion before, after or inside any HTML element on the page. This means that you can actually insert any ad or code anywhere on the page. All you need to know is the CSS selector of the element where you need to insert your code. You can check the element with web inspector in your browser (right mouse click on the element + Inspect)

or use built-in tool for element selection. Detailed description of CSS selectors is beyond the scope of this page so we only list few typical examples for HTML element selection – search the web for more.
If you need to insert before or after specific HTML tag (for example, h2) inside post or static page content you can also use insertion before/after paragraph and configure paragraph counting for this specific tag. This approach will give you more control over insertion positions.
In most cases the wanted element where you would like to insert has classes or ids:
<div class="content main-content post" id="main">
...
</div>
You can address this element in many ways:
- element with class main-content:
.main-content - div element with class main-content:
div.main-content - element with id main:
#main
When choosing the CSS selector try to use the shortest selector that describes the wanted element. When using IDs make sure they are universal (used on all posts) and not page-specific. In most cases when using ID of the element you don’t need to specify other selectors.
CSS selector can describe (select) more than one element. In such case the block will be inserted before/after all selected elements.
Some examples of CSS selectors for description of HTML element(s):
- p paragraph that immediately follows h2 heading:
h2 + p - div elements with class graph inside div with id content:
#content div.graph - div elements with classes post, content and main:
div.post.content.main - ul elemets inside p paragraphs:
p ul
PLEASE NOTE
Client-side insertion inserts the code using Javascript in the browser after the page is loaded and DOM is ready (all page elements are available).
Server-side insertion is the best approach, however, it requires output buffering which is by default disabled as it may not work with all themes. To enable it go to plugin settings (tab 
Client-side insertion needs error-free Javascript page – in case of issues check browser’s console for errors or messages.
Filter and Max insertions setting can work only server-side – when the page is created and Ad Inserter is called. Therefore, if you would like to use filter or define max insertions with insertion Before/After HTML element you need to use server-side insertion. If you are using client-side insertion you need to specify valid CSS selector that will limit your insertions.
Insertion Before, Inside or After HTML element may have undesired effects when using with Ajax calls (infinite scroll). Use other server-side insertions instead.


